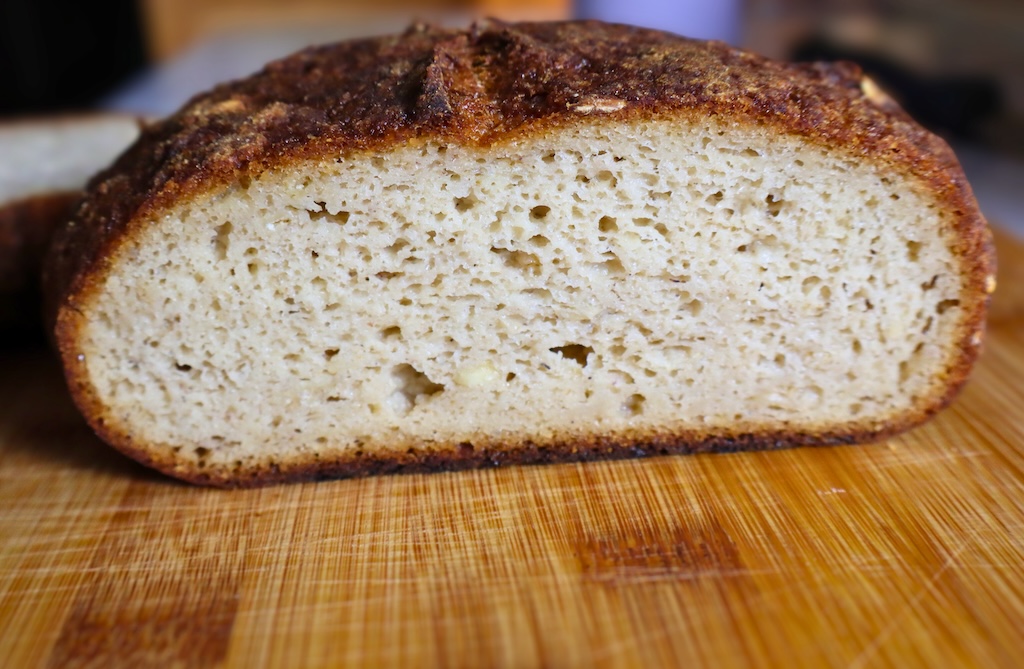
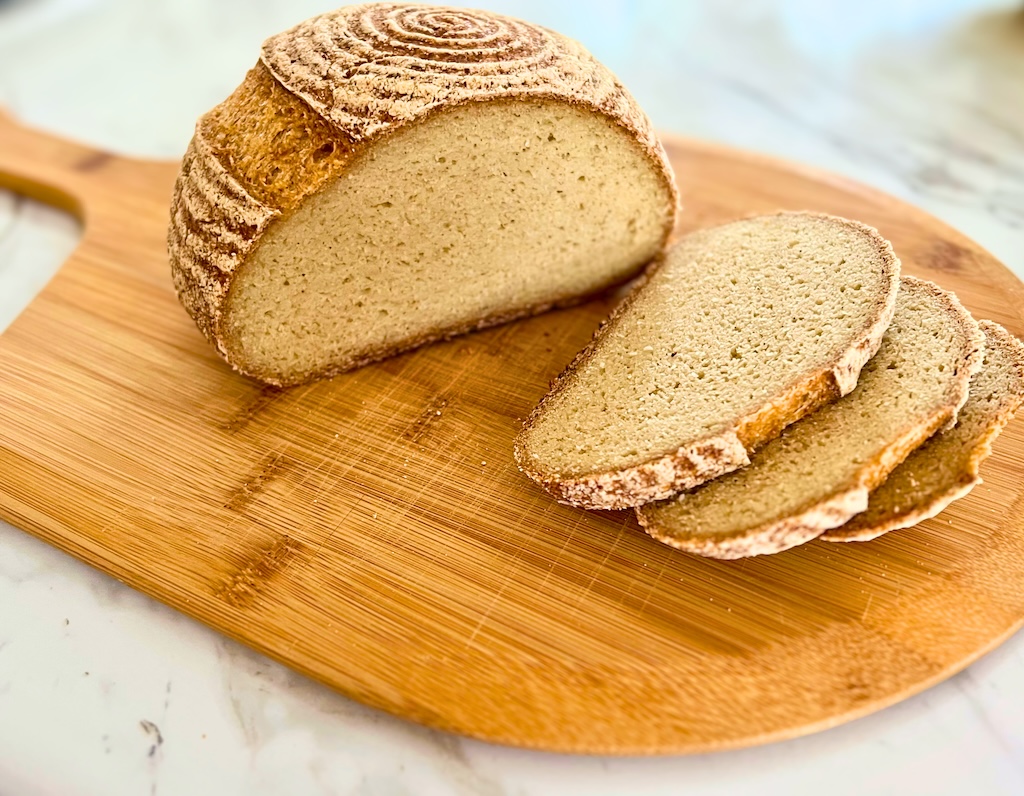
I have really been enjoying this gluten-free sourdough honey oat bread lately, and I’m so happy to share it with you! This bread is really easy to make and it tastes delicious. The texture is really great and the gluten-free oats add a lot of heartiness that really keeps you full and satisfied. The honey adds just a touch of sweetness but not too much. I have been loving it with my morning eggs slathered in butter and also with my homemade nut butter. It really is my favorite gluten-free bread right now!
This bread is made all in one day and there is no banneton needed! I found this small 2.8 quart dutch oven and the bread does its rise right in the dutch oven! There’s no worrying about burning your hands on a hot dutch oven and it is so nice. It is a total game changer for gluten-free sourdough in my opinion. It also makes sure your dough doesn’t flatten while it’s in the oven and it holds its shape due to the small space of this dutch oven.

How to Make Gluten-Free Sourdough Honey Oat Bread
For this recipe, I decided to use my grain-free sourdough starter, but a gluten-free starter will work as well. This recipe uses the base of my grain-free sourdough bread recipe, which is a very simple recipe with only a few ingredients compared to most gluten-free bread recipes.
Step One – Cook the oats in cashew milk (or your favorite milk). Bring the cashew milk just to a simmer and add the oats. Stir, cover, and remove the pan from the heat. Let sit for 15 minutes to give the oats time to absorb the milk.

Step Two – Warm up the water in the microwave for about one minute. It should be warm, but not so hot it burns your finger. Add the honey and psyllium husks to the warm water and stir well to combine. Set aside to form a gel for 5 minutes. In case you are new to gluten-free baking – psyllium husks bind your ingredients together in place of gluten, so don’t leave them out!

Step Three – Add the almond flour, tapioca flour, and salt to a medium bowl and use a fork or whisk to combine.

Step Four – Once the oats are ready, grab a large mixing bowl and add the sourdough starter. Then add the oats and psyllium/honey mixture. Use a dough whisk to fully combine. Then add the dry ingredients and continue to whisk until you get a shaggy dough. You can continue using the dough whisk until it forms a dough and no dry flour remains, or you can use your hands to finish bringing it together. I like using my hands once it gets hard to use the whisk. If you prefer, you can also use a stand mixer for the entire process.

Step Five – Line your dutch oven with parchment paper and set aside while you form the dough ball. Sprinkle a little white rice flour on your counter and turn the dough out onto it. Roll the ball around until smooth. It will be a little sticky but it should be manageable. If it is too sticky, add more flour. Then place the dough seam side down into the dutch oven. Cover and let sit at warm room temperature (72 degrees F) for about 5 hours. It will puff up but it will not double in size. This can take up to 7 hours in a cooler kitchen and 3-4 hours in a very warm kitchen.

Step Six – One hour before you are ready to bake the bread, place a pizza stone on the bottom rack of your oven. Preheat it to 500 degrees F. Set a timer for 1 hour. After one hour, score the dough while still in the dutch oven. Cover and place in the oven. Turn the temperature down to 450 degrees F. See below for baking instructions. You will turn the oven down in increments as you bake.

Baking Temps and Times
- 450 degrees F – 40 minutes
- 400 degrees F – 30 minutes
- 350 degrees F – 20 minutes
- Turned off – 10 minutes
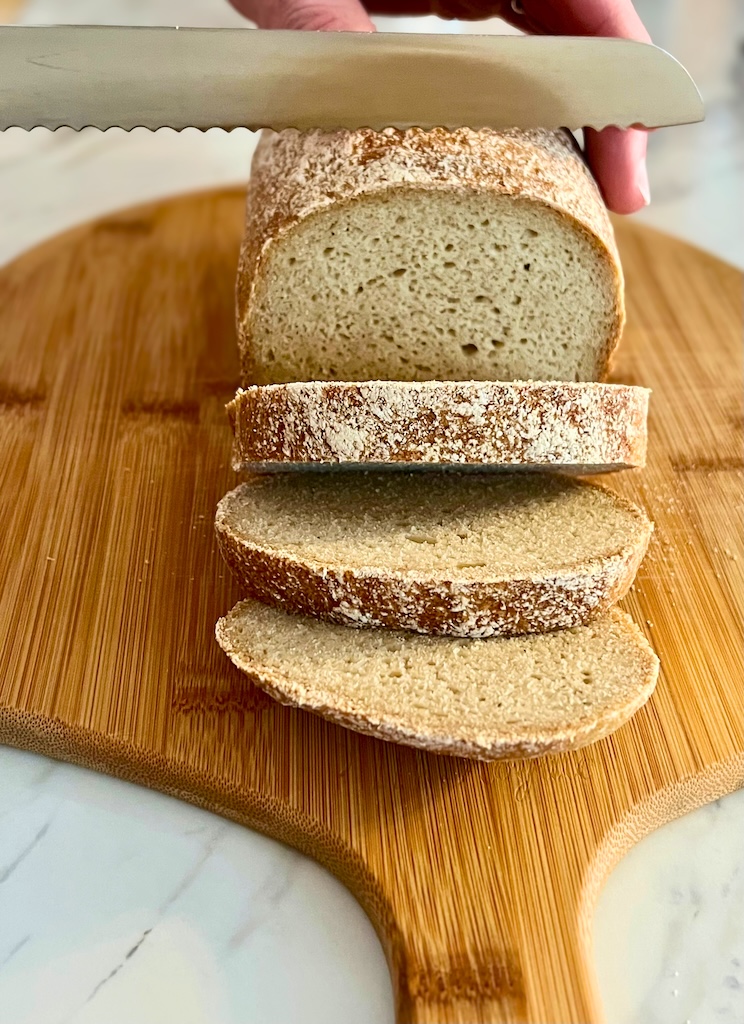
Step Seven – Let the bread cool on a wire rack for at least 4 hours. It is best to wait to cut into any gluten-free sourdough bread until the next day.

Substitutions
If you don’t have all of the ingredients, there are some that can be substituted with other things. Here is a list of ingredients that can be replaced with something else if needed.
- Tapioca – use arrowroot
- Honey – use maple syrup
- Cashew milk – any milk will work
Enjoy!
I hope you enjoy this recipe! If you make this bread, please let me know in the comments. I love hearing from you guys and I’m happy to answer any questions you might have.

Gluten-Free Honey Oat Sourdough Bread
Equipment
- 1 2.8 quart dutch oven
- 1 Dough Whisk optional
Ingredients
- 60g cashew milk
- 20g gluten-free rolled oats
- 290g warm water
- 50g honey
- 23g psyllium husks
- 75g grain-free sourdough starter or gluten-free
- 180g almond flour
- 130g tapioca flour
- 7g salt
Instructions
- Pour the cashew milk in a small pot and bring to a simmer. Then add the oats, stir, cover, and remove the pot from the heat. Let sit for 15 minutes.60g cashew milk, 20g gluten-free rolled oats
- Add the honey and psyllium husks to the warm water. Stir well and set aside for 5 minutes.290g warm water, 50g honey, 23g psyllium husks
- To a medium bowl add the almond flour, tapioca flour, and salt. Whisk to combine.180g almond flour, 130g tapioca flour, 7g salt
- Add the sourdough starter to a large mixing bowl. Then add the cooked oats and psyllium/water mixture. Whisk well with a dough whisk to combine.75g grain-free sourdough starter
- Add the dry ingredients and whisk with the dough whisk until it looks shaggy and then switch to combining the dough with your hands until no dry flour remains in the bowl.
- Line the dutch oven with parchment paper and then add the dough seam side down. Cover with the lid and let sit at warm room temperature for about 5 hours. This will take longer in a cold kitchen and less time in a very warm kitchen. The dough will puff up but it will not double in size.
- One hour before you bake, place a pizza stone on the bottom rack of your oven and preheat to 500℉. Once preheated, score the top of the dough, put the lid on the dutch oven and place it in the oven. Turn the temperature down to 450℉ and bake for 40 minutes.
- Take the lid off and turn the oven down to 400℉ and bake for 30 minutes. Then turn the oven down to 350℉ and bake for an additional 20 minutes. Turn the oven off and wait 10 minutes before removing the bread.
- Cool the bread on a wire rack for at least 4 hours before transferring to a bread bag. For best results, wait until the next day to cut into it.


Leave a Reply to CynthiaCancel reply