This grain free sourdough starter is made with a combination of almond flour and cassava flour and can be active and ready to use in 5-7 days. Use this starter as you would any starter to leaven your grain-free or gluten-free breads. The addition of sourdough starter not only acts as your leavening agent, but it provides flavor that can’t be found anywhere else and it also offers extra gut-health due to the fermentation process. Your new best friend can be created following the steps in this post! Come along to start your grain-free sourdough journey!
Table of Contents
- What is Sourdough Bread?
- What You Need to Get Started
- Grain-Free Flour Blend
- Directions
- Daily or Weekly Maintenance Feeding
- A Note About “Discard”
- FAQ’S
- Summary
What is Sourdough Bread?
Before we get started, let’s go over what sourdough bread is. Sourdough bread is naturally leavened bread that doesn’t require any store bought yeast. It is the way bread was made long before those little yeast packets were ever invented. The bread is leavened by a sourdough starter, which is just fermented flour and water. It really is so simple and natural! Sourdough bread is also healthier and better for your gut. Grain-free options are already better for your gut, so making it sourdough just takes it a step further in improving your overall health!
Traditionally, sourdough bread is made using wheat flour, but it doesn’t have to be. You can ferment any type of flour and turn it into a sourdough starter with the right conditions and patience. The main difference in traditional sourdough bread and gluten-free or grain-free sourdough bread is that you need a binding agent for gluten-free bread to hold all of the ingredients together since you won’t have the gluten to do that for you.

What You Need to Get Started
Kitchen Scale – I can’t stress the importance of a kitchen scale enough for sourdough! It is an inexpensive tool that you will use everyday and it is so useful. Different brands and types of ingredients don’t always weigh the same, so a cup of one brand is not a cup of another.
Pint Jars – you will need at least 2 pint jars to start with, so that you are always using a clean jar for each feeding.
Almond Flour – you want to make sure you use blanched almond flour that is finely ground.
Cassava Flour
Buckwheat Flour – this is ONLY for the first 24 HOURS. It is just to get a good colony of yeast and bacteria growing. Buckwheat is a pseudo cereal and not technically a grain.
Jar Spatula – you just need something to stir with that will fit in a jar. A chopstick works well too.
Grain-Free Flour Blend
You will feed this grain-free flour blend to your starter everyday after the first 24 hours. Here is how you make it.
- Add 600g of cassava flour and 400g of blanched almond flour to a large mixing bowl. Whisk well to fully combine.
- Transfer the flour mixture to an airtight container.

Directions
Day One – AM
- To a pint jar, add 100g buckwheat flour and 110g warm water. Stir well and make sure no dry flour is left in the jar.
- Place the lid on the jar, but don’t tighten it, it should be loose!
- Use a rubber band to mark where your starter begins in the jar. This will help you to see how much it has risen.
- Place the jar in a warm place, preferably between 75-80 degrees. Let it sit for 24 hours.

Day Two – AM
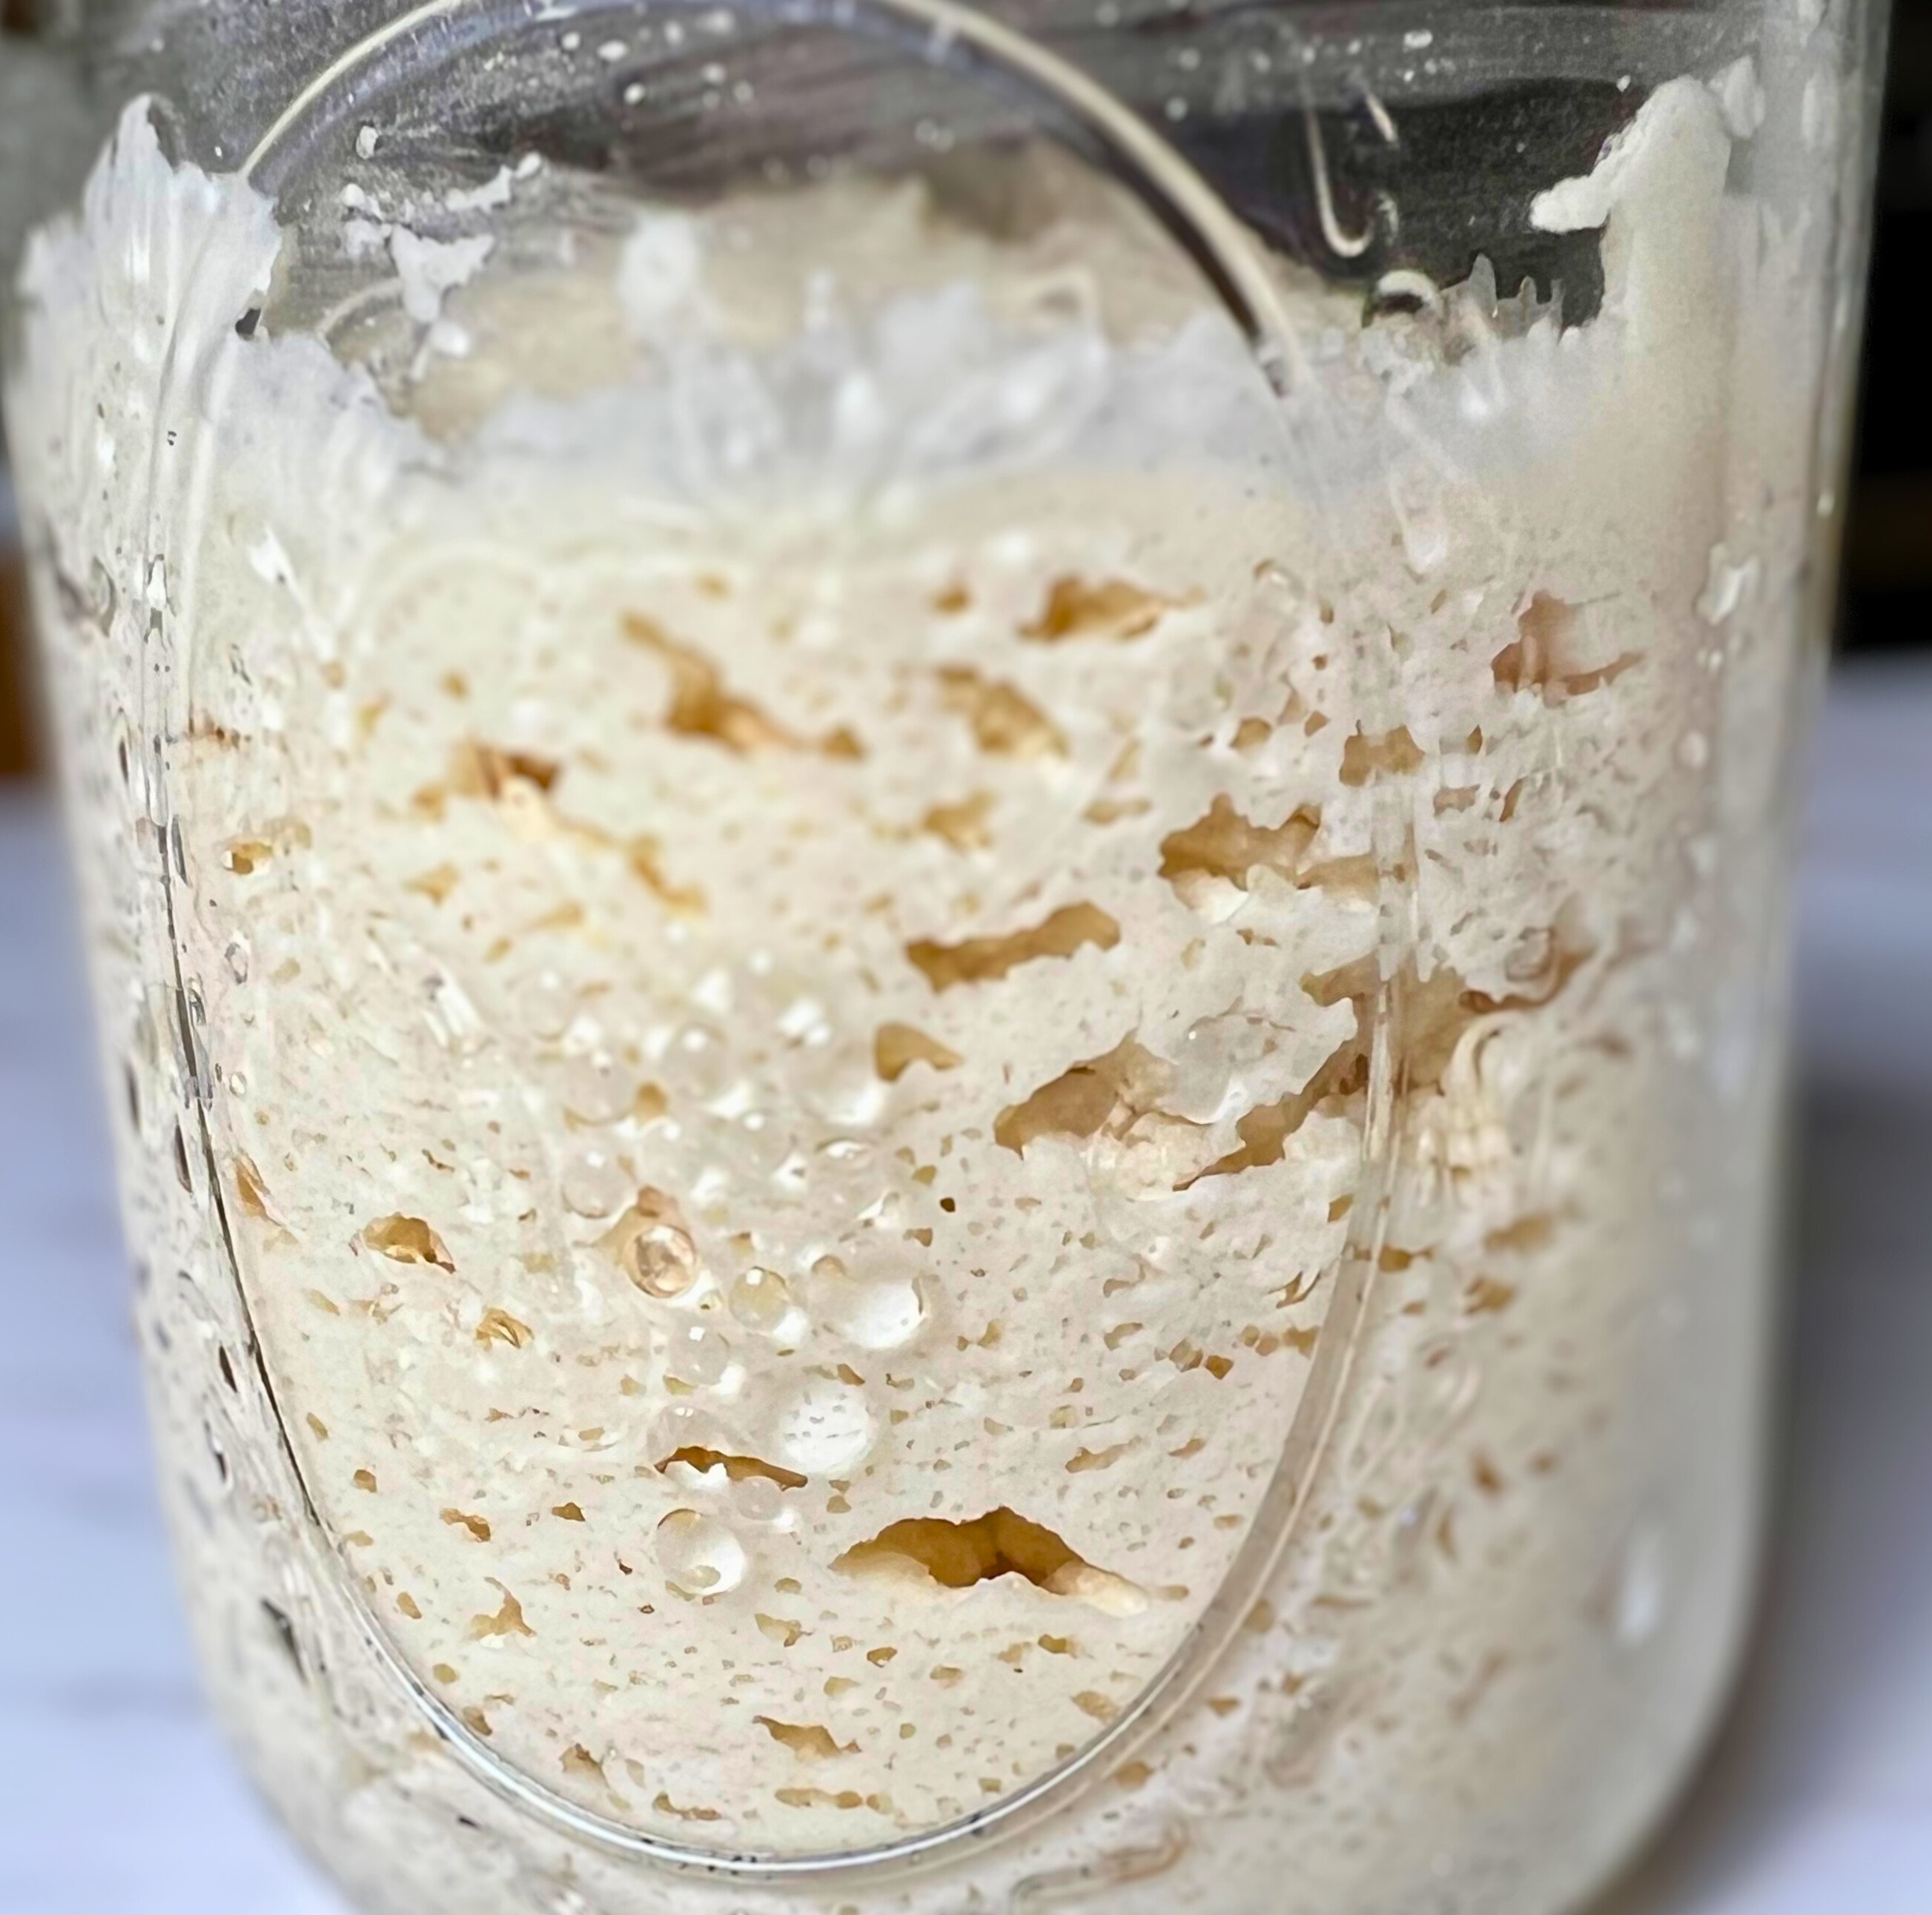
Check on the culture. Does it look the same or has it risen? Is it bubbly? If it hasn’t risen, give it a stir and put it back in the warm spot for another 12 hours. If it has risen (which was the case for me, it doubled!) then do the first feeding.
- To a clean pint jar, add 25g buckwheat culture, 25g grain-free flour blend (60% cassava flour, 40% almond flour), and 40g of warm water.
- Stir well to fully combine using your jar spatula.
- Place the rubber band back on the jar.
- Loosely cover with a lid and place in a warm environment for another 12 hours.
- You will need to throw out what is left in the jar from the buckwheat culture. This is called “discard“, but you really only need to throw it out for the first 5-7 days until your starter is active and all of the bad bacteria is gone. After that, you can keep what is leftover in the refrigerator to use in grain free sourdough discard recipes.
Day 2 – PM
Check on the culture. There should be some activity by now. You should see lots of bubbles and it should have risen. Feed as instructed in step 1 and check on it again in 12 hours.
Day 3 – AM
It is very normal to not see any rise on Day 3 and sometimes day 4 as well. You should still see some bubbles though. Either way, feed it according to the instructions from Day 2 and check again in 12 hours.
Day 3 – PM
It probably won’t look any different than it did in the morning, but go ahead and feed again according to the instructions from Day 2.
Day 4 – AM
You should see more bubbles, but it may or may not have risen a little. For me, I had no rise in the morning on Day 4. Feed it the same as you have been and check again in the PM.
Day 4 – PM
This is when I started seeing more activity. My starter almost doubled and there were lots of bubbles. Yours might not be as active if it isn’t kept as warm as mine, so don’t worry, just keep following the same routine of feeding every 12 hours.
Day 5 – AM
I saw a smaller rise this time, but it still rose a bit, and it was still bubbly. Feed again and check in the evening.
Day 5 – PM
This is when I knew my starter was almost ready. It almost doubled with lots of bubbles again. Again, if yours isn’t rising as much, just keep going. It could take a few days longer, but as long as you are consistent with feeding and you are keeping it as warm as possible, without being too hot, you will get an active grain free sourdough starter!
Day 6 – AM
My starter was looking really nice, so I decided to give it a full feeding, and to me, it was active enough to switch to once a day feedings. If your starter isn’t quite there, just keep going until it rises consistently between feedings.
Daily or Weekly Maintenance Feeding
If you bake regularly, I would recommend leaving your starter on your kitchen counter and feeding it once per day. You can use your starter anytime you need it once it has peaked. However, if you only bake occasionally, it makes more sense to leave it in the refrigerator until you need it. Just take it out, feed it, making sure to warm the water a little extra, let it peak, then you can use it to bake with. Then feed it again and put in back in the refrigerator after it peaks, until next time.
For regular feedings:
- 50g starter
- 50g grain-free flour blend
- 65g warm water
This will be enough to bake with 100g of starter, leaving you with 50g to feed for next time.
A Note About “Discard”
Sourdough discard is the starter that is leftover in your jar after you take out the portion you are going to feed. Nothing is wrong with it, and it only needs to be “discarded” at the very beginning, during those first 5-7 days until your starter is active. You can store your discard in the refrigerator to use in many recipes other than bread, such as muffins, pancakes, crackers, scones, biscuits, cornbread, pie crust; the sky is the limit! Also, if you end up using all of your active starter by accident, you can always feed your discard and have active starter again! It really is valuable to keep some in your refrigerator.
FAQ’S
What if I forget to feed my starter within one week? Don’t worry! If it’s only over a week by a couple of days, it’s no big deal, just feed it again and it will be fine. If it has been a couple of weeks, feed it a few times before using it again and it will be all good to go!
What is that liquid on top of my starter after sitting in the fridge? That liquid is called “hooch”. Yes, it is alcohol! You can either stir it in or pour it off. Either way, it is not harmful.
What if there is mold on my starter? If you have mold, unfortunately, you need to toss it and start over. Mold is not ok.
Why isn’t My Starter Rising Anymore? If you were having success and then suddenly your starter stopped performing, it could be that you haven’t been keeping it warm enough or that you aren’t using warm water to feed it with. This is especially important if you put your starter in the refrigerator. It needs to warm up to come back to life, not that it will die in the refrigerator, but it needs to be refreshed to become active and bubbly and that requires a warm temperature.
My Starter Fell, Can I Still Bake with it? Yes! You can absolutely still use your starter if it falls. It is still active well beyond it’s peak. I usually try to use mine within 24 hours of feeding it. It is really very flexible and there’s no need to worry about catching it at the “perfect” time.
Summary
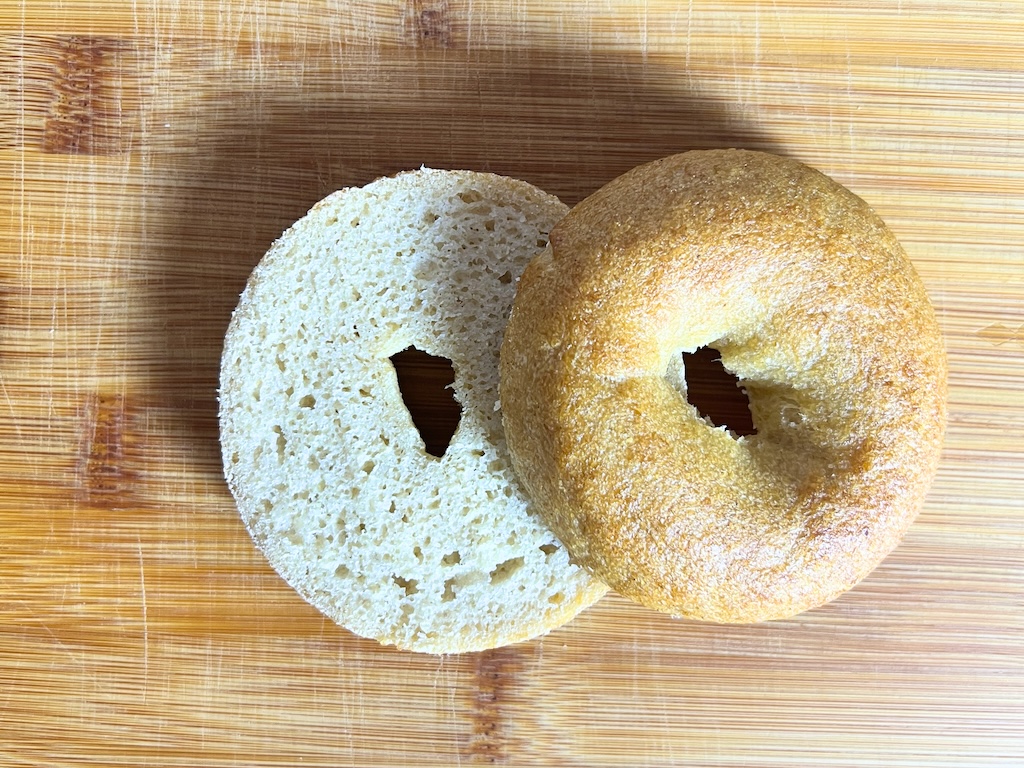
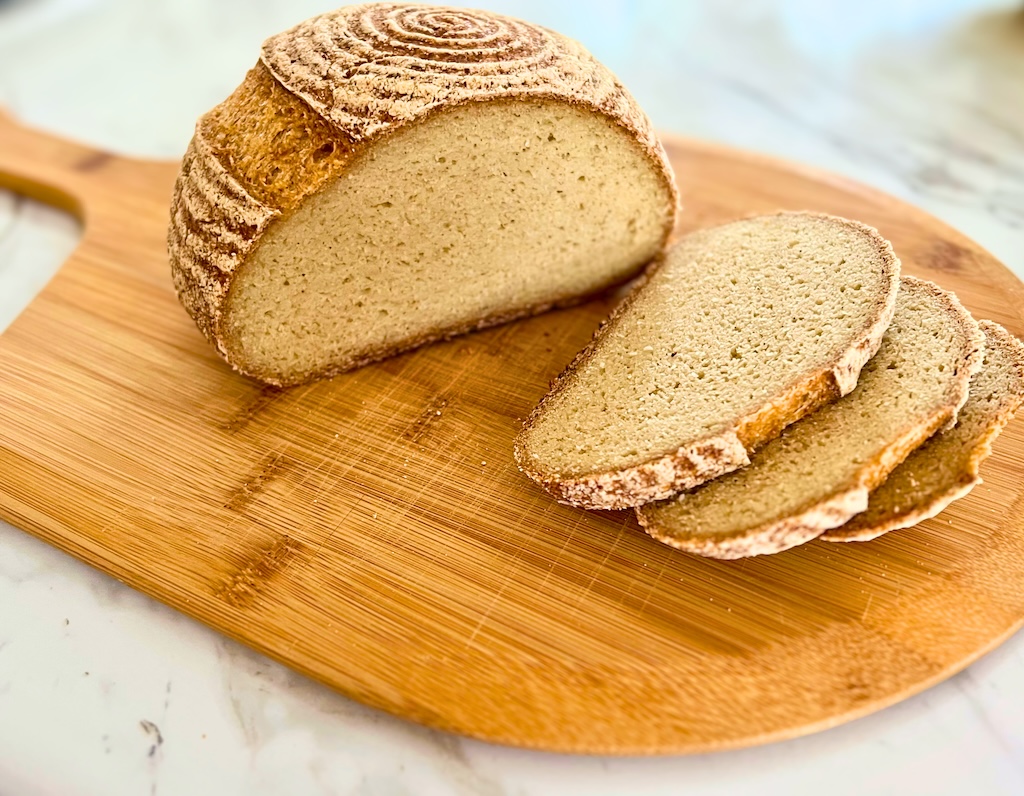
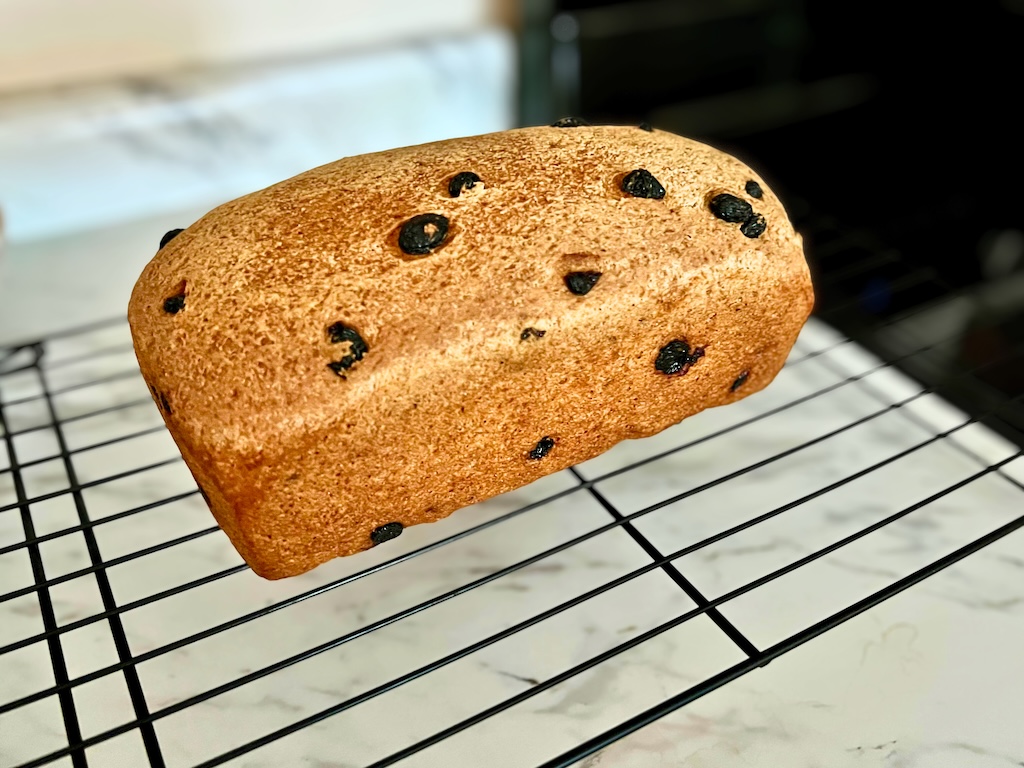
I hope this guide has helped give you the confidence to try making your own grain-free sourdough starter! When you are ready to try making bread, you can check out my recipe for Grain-Free Sourdough Bread. If you have any questions, please feel free to comment below. I am happy to help in any way I can!


Leave a Reply to AnonymousCancel reply