
Post updated: August 18, 2025
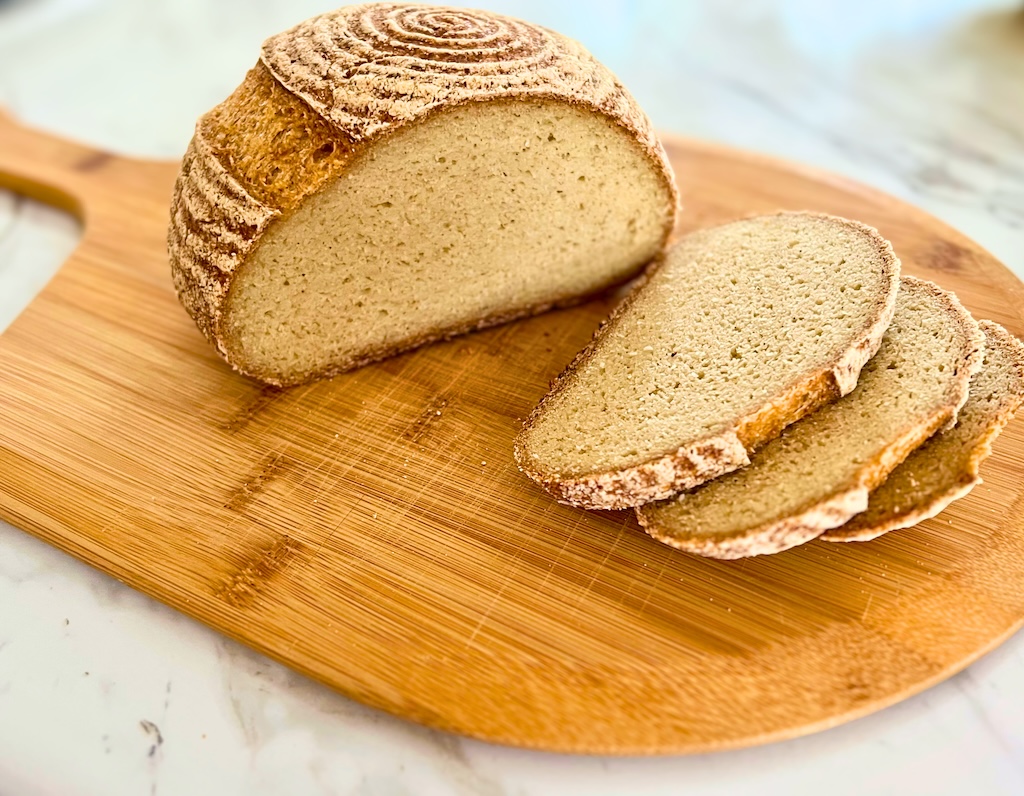
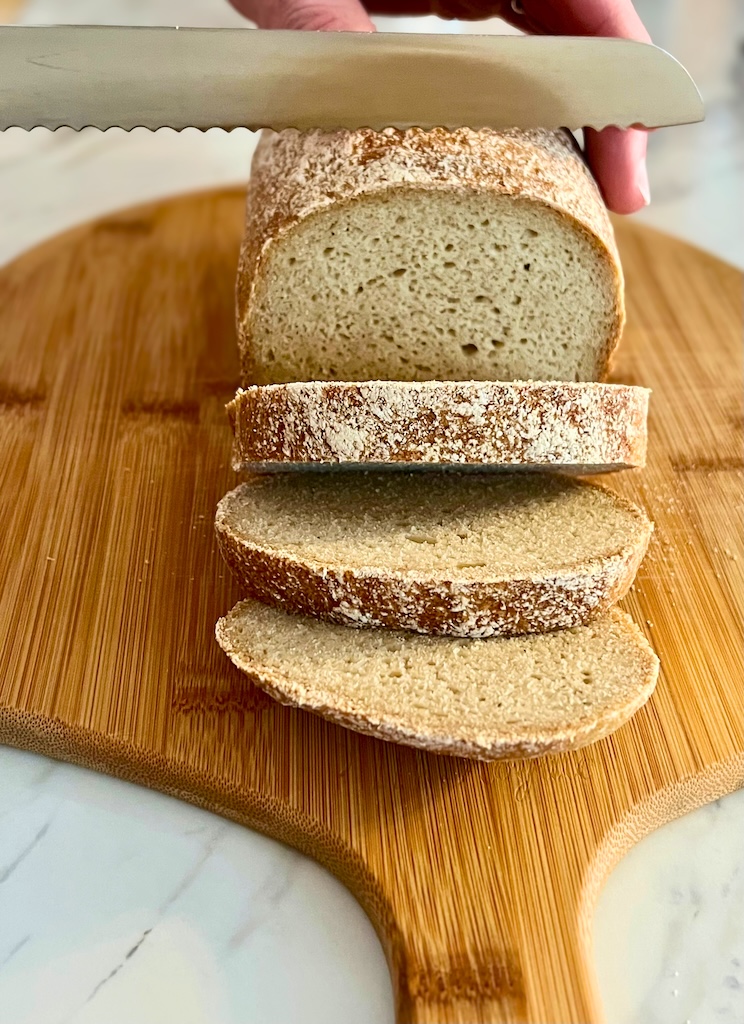
This gluten-free sourdough bread is naturally leavened with a gluten-free sourdough starter with no added yeast or gums. It is crusty on the outside with a soft, flavorful crumb. When following the recipe exactly, you will not experience a gummy loaf, which tends to be an issue with gluten-free bread. This bread is perfect toasted for sandwiches, slathered with butter or jam, and to have along-side a hot bowl of soup! You no longer have to feel deprived of delicious warm bread while on a gluten-free diet. This sourdough bread will be your new go-to recipe!

What is Gluten-Free Sourdough Bread?
Gluten-free sourdough bread is a naturally leavened bread made with 100% gluten-free ingredients, including a gluten-free sourdough starter. The starter is made by combining gluten-free flours (such as brown rice flour) and water and letting it ferment at warm room temperature. It is the same process as any sourdough bread, but with gluten-free ingredients and an added binder (psyllium husks).
This bread does not contain any store bought yeast and relies completely on the strength of your starter. It also does not contain any gums or additives of any kind. Instead of using something like xanthan gum to bind the dough, this recipe uses psyllium husks. The psyllium husks will act as the “gluten” in this bread so it is very important!
Ingredients Needed
- Active Gluten-Free Sourdough Starter – make sure your starter has been recently fed and it has almost doubled in size. There should be lots of activity and air bubbles. In order to get a full 300g of starter, use a quart jar, and add 50g-150g starter (the more starter you use the faster it will rise), 150g warm water, and 150g brown rice flour. This will leave you with plenty of starter left over to keep it going.
- Sugar– this helps to feed the yeast, and is optional. I used to use honey, but I found that using sugar works better for the texture of the bread. I use natural cane sugar, but you can use whatever sugar you prefer.
- Whole Psyllium Husks – there really isn’t a replacement for this. However, the brand does matter in my experience. Save yourself the trouble, and get Anthony’s brand on Amazon. I have tried several others that were not as good.
- Avocado Oil – feel free to substitute this with olive oil.
- Potato Starch
- Tapioca Flour – you could use Arrowroot powder as a substitute.
- Oat Flour – you could replace the oat flour with sorghum flour, but you will need to add more water if you do.
- Brown Rice Flour
- Salt – I use Diamond Crystal Kosher salt because it has zero additives. If you can find salt that is just salt, that is best.
Tools You Need
- Stand Mixer – this is not necessary, but it does save time when bringing the dough together if you are in a hurry.
- Dough Whisk – this is not totally necessary either, but it is nice to have. I wouldn’t recommend using a regular whisk because the psyllium gel mixture can get stuck in it. So if you don’t want to buy a dough whisk, just use a rubber spatula or wooden spoon.
- Banneton – a 7 inch banneton is perfect size for this bread. If you don’t want to purchase one, you could also use a small bowl with a lid. Line it with a tea towel that has been dusted with white rice flour.
- Dutch Oven – my favorite Dutch oven is the Lodge cast iron Dutch oven, or the Lodge multi-cooker.
- Wire Cooling Rack – this is important for cooling the bread.
Directions & Timeline
Feed your starter – When you wake up in the morning, feed your starter 50g-150g starter, 150g water, 150g brown rice flour. Place it in a warm spot (75-79 degrees F if possible) and check on it in 4-6 hours.
Make the Dough
- Add all of the dry ingredients to a medium sized mixing bowl and whisk to combine.
- Add the sugar to a 2 cup measuring cup and then add the warm water and psyllium husks. Stir immediately to let the psyllium start forming a gel. Set aside for 5 minutes.
- Add the starter and avocado oil to a large mixing bowl or the bowl of a stand mixer.
- Add the psyllium mixture to the bowl with the starter and oil. Whisk with a dough whisk to fully combine.
- Add the dry ingredients to the wet ingredients. Use your dough whisk to loosely combine and then either use your hands or a stand mixer to bring the dough together until no dry flour remains.
- Turn the dough out onto your counter and shape into a smooth ball. Place the dough seam side up in a 7 inch banneton. Make sure you dust your banneton with some white rice flour before adding the dough.
- Place the dough in a large zip-lock bag or cover with a shower cap. Then let rise a warm room temperature for 30 minutes – 1 hour. The time depends on how warm your kitchen is. If it is warmer, use the shorter time and if it is colder, use the longer time.
- Place in the refrigerator for 12 – 16 hours.


Pre-Heat, Score, & Bake
- When you are ready to bake, place your Dutch oven inside your oven and pre-heat it to 500 degrees F. Set a timer for 1 hour.
- Turn the dough out onto a piece of parchment paper and score as desired.
- Place the dough in the hot dutch oven and carefully cover it with the lid.
- Immediately turn the oven down to 450 degrees F and bake for 35 minutes.
- Take the lid off and turn the temperature down to 400 degrees F. Bake for 30 minutes.
- Turn the oven temperature down to 350 degrees F and bake for an additional 30 minutes.
- Let cool on a wire rack for at least 4 hours.
Enjoy!
If you decide to make this recipe, please let me know how it goes in the comments! I’m also happy to answer any questions you might have.

Gluten-Free Sourdough Bread
Equipment
- 1 Dutch Oven
- 1 Banneton Basket 7 inch
- 1 Dough Whisk
- 1 Kitchen Scale
Ingredients
- 106 g brown rice flour
- 80 g gluten-free oat flour
- 80 g potato starch
- 60 g tapioca flour
- 8 g salt
- 20 g sugar
- 300 g warm water
- 20 g whole psyllium husks
- 300 g active gluten-free sourdough starter
- 10 g avocado oil
Instructions
- Add the brown rice flour, oat flour, potato starch, and tapioca flour to a small mixing bowl. Whisk to combine and set aside80 g potato starch, 60 g tapioca flour, 80 g gluten-free oat flour, 106 g brown rice flour, 8 g salt

- Add the sugar to a 2 cup measuring cup. Then add the warm water and psyllium husks. Whisk immediately to let the psyllium form a gel. Let set for 5 minutes.20 g sugar, 20 g whole psyllium husks

- Add sourdough starter and avocado oil to a large mixing bowl or the bowl of your stand mixer.300 g active gluten-free sourdough starter, 10 g avocado oil
- Add the psyllium gel to the starter and avocado oil. Whisk to fully combine.
- Add the dry ingredients to the wet ingredients and use a dough whisk to loosely combine. Then, either bring it together with your hands or use a stand mixer to combine using the paddle attachment. It is ready when no dry flour remains in the bowl.

- Turn the dough out onto your counter and shape into a smooth ball. Place the dough seam side up into a 7 inch banneton that has been dusted with white rice flour. Place into a large zip-lock bag or cover with a shower cap. Let sit at room temperature for 30 minutes – 1 hour. In the warmer months use the shorter time and in colder months use the longer time.

- Place the banneton in the refrigerator for 12 – 16 hours.
- When you are ready to bake, place your dutch oven in the oven and preheat to 500℉. Set a timer for 1 hour.
- Turn the dough out onto a piece of parchment paper and score as desired.

- Place the dough in the hot dutch oven and immediately turn the temperature down to 450℉. Bake for 35 minutes. Take the lid off and turn the oven down to 400℉. Bake for 30 minutes. Turn the oven down to 350℉ and bake for a final 30 minutes. Turn the oven off and wait 10 minutes to take the bread out of the oven.
- Let the bread cool on a wire rack for at least 4 hours before cutting it.


Leave a Reply to LauraCancel reply