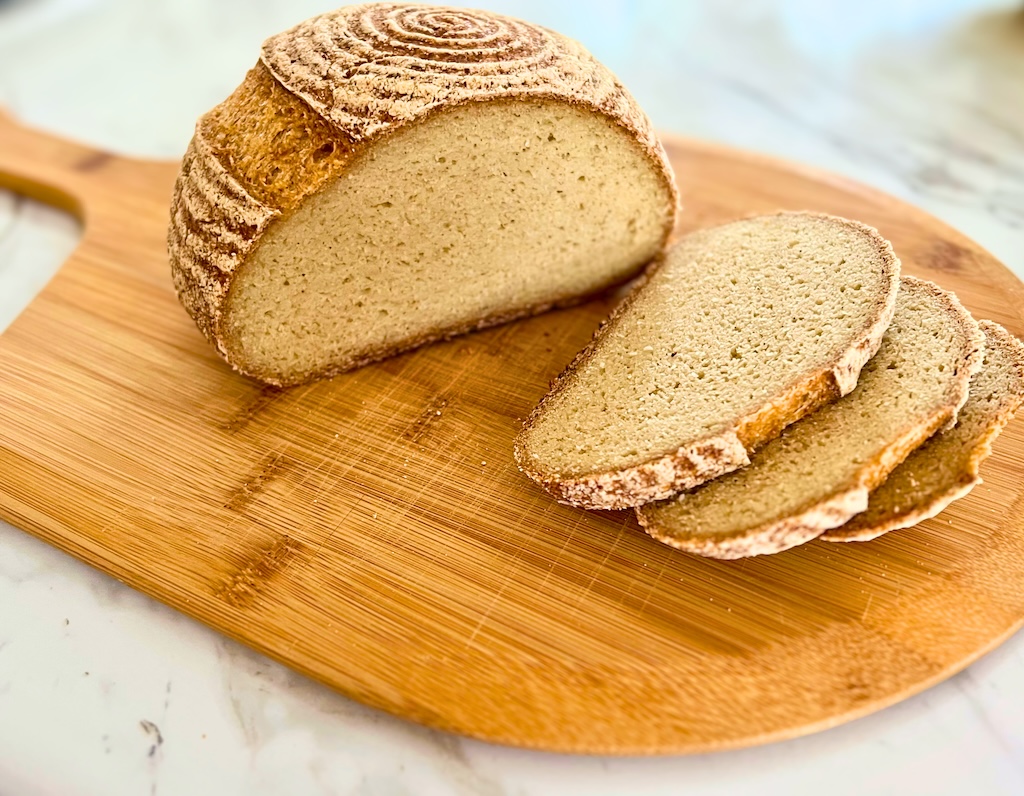
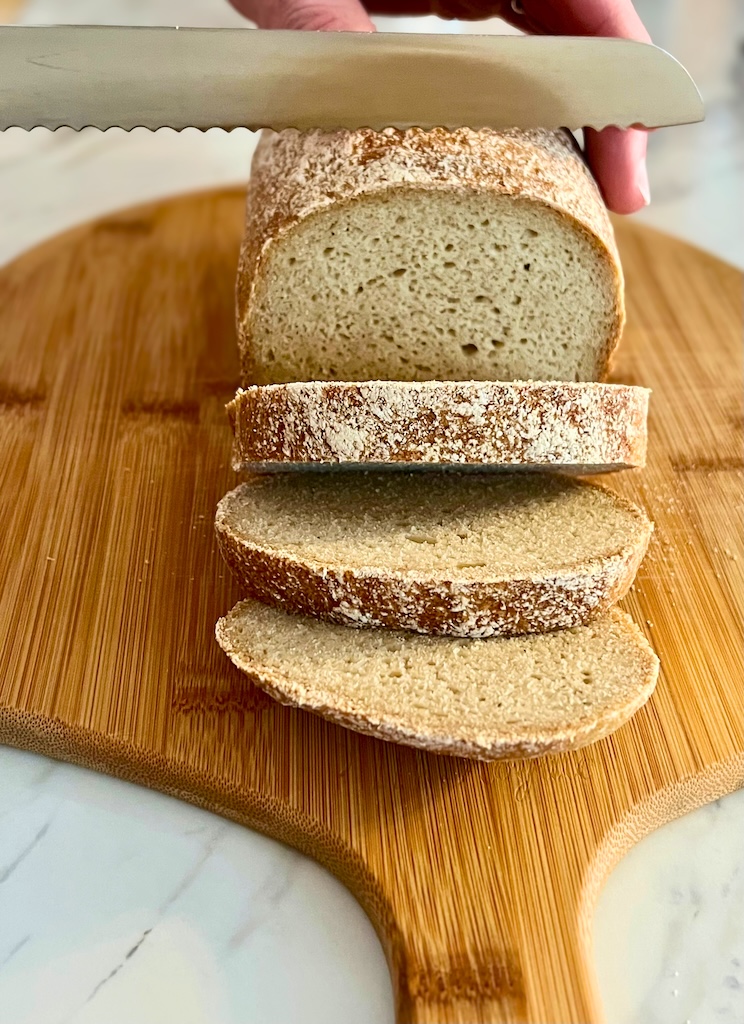
This gluten-free sourdough bread, made with millet and sorghum, is the perfect everyday bread for those on a gluten-free diet. Mild in flavor with a perfect crumb that is not gummy in the slightest, this loaf will not disappoint.
This is my new go-to bread recipe now that my family and I have committed to being fully gluten-free. It is fairly simple with fewer ingredients than the original recipe I used in my first blog post about How to Make Gluten-Free Sourdough Bread. The method is the same, but the combination of millet and sorghum with tapioca as the only starch, is really outstanding.

I have been using my Nutrimill Harvest Grain Mill for all of my grains and I am finding that I do need a bit less water. This is due to the fact that milling at home will not produce flour that is as fine as flour that is milled in a commercial setting.
If you are using store bought flour – you might need to increase the hydration by adding more water during the mixing stage. Start with the amount listed in the recipe and gradually increase as needed to achieve the right texture in your dough. Just add a tablespoon at a time so that you don’t over hydrate.
Here is what your dough should look like with the correct hydration.


I hope you enjoy this recipe! Let me know if you have any questions by leaving a comment or contacting me directly. Also, please get the word out by SHARING with friends and family!

Millet and Sorghum Sourdough Bread
Equipment
- 1 Kitchen Scale
- 1 Stand Mixer optional
- 1 7 inch Banneton
- 1 Proofing Box optional
- 1 Dutch Oven
- 1 gallon freezer bag
Ingredients
- 120 g millet flour
- 120 g sorghum flour
- 160 g tapioca flour
- 11 g salt
- 340 g warm water
- 20 g sugar
- 20 g whole psyllium husk
- 300 g active gluten-free sourdough starter
Instructions
- Combine the millet, sorghum, tapioca, and salt in a medium bowl. Set aside.120 g millet flour, 120 g sorghum flour, 160 g tapioca flour, 11 g salt

- Add the water and sugar to a glass measuring cup. Then add the psyllium husks and stir immediately to prevent clumping. Set aside to let gel for up to 5 minutes.340 g warm water, 20 g sugar, 20 g whole psyllium husk
- Add the starter to the bowl of a stand mixer. Then add the psyllium gel and whisk to combine.300 g active gluten-free sourdough starter

- Add the dry ingredients to the wet ingredients and attach the bowl to the stand mixer. Use the paddle attachment and mix on low speed for 5 minutes or until no dry flour remains in the bowl.

- Take the dough out of the bowl and place on your counter. Knead for a few minutes and shape into a smooth round ball. Then place the dough seam side up in a lightly floured 7 inch banneton and put it in a gallon freezer bag.

- Let the dough proof at warm room temperature for 45 – 60 minutes (80℉ for 45 minutes in a proofing box works perfectly if you have one).

- Transfer the dough to the refrigerator to cold proof for an additional 12-16 hours.
- Preheat your oven to 500℉ with a dutch oven or multi cooker inside. Set a timer for 1 hour.
- Turn the dough out onto a piece of parchment paper and score as desired with a lame or sharp knife.

- Using the parchment paper, lift the dough up and place in the hot dutch oven. Put the lid on and bake as follows:450℉ (lid on) – 35 minutes400℉ (lid off) – 35 minutes350℉ (lid off) – 30 minutesOven off – 10 minutes

- Take the bread out of the oven and cool completely on a wire rack. Wait at least 4 hours before cutting, but preferably overnight.

Notes
- You might need to add additional water if you are using store bought flour. This recipe was tested using fresh milled flour. Start with the amount listed and gradually increase (1 tablespoon at a time) during mixing if needed.


Leave a Comment